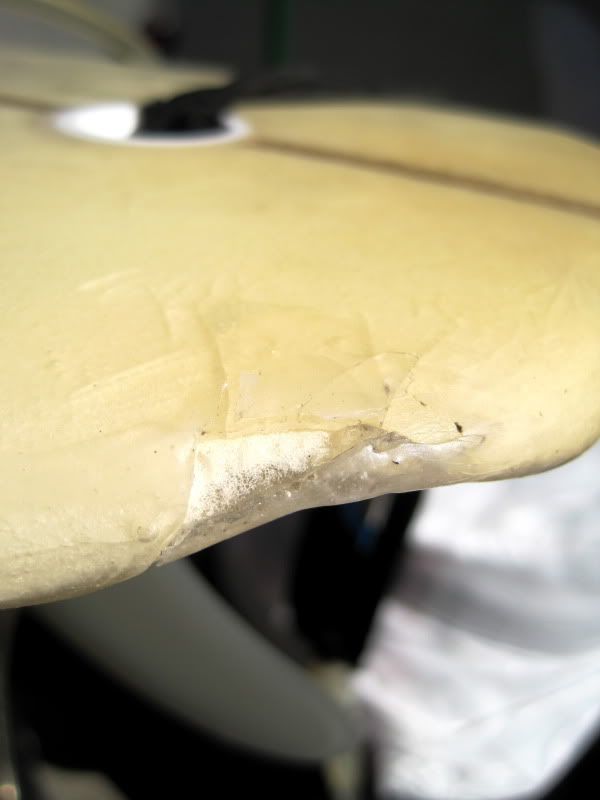
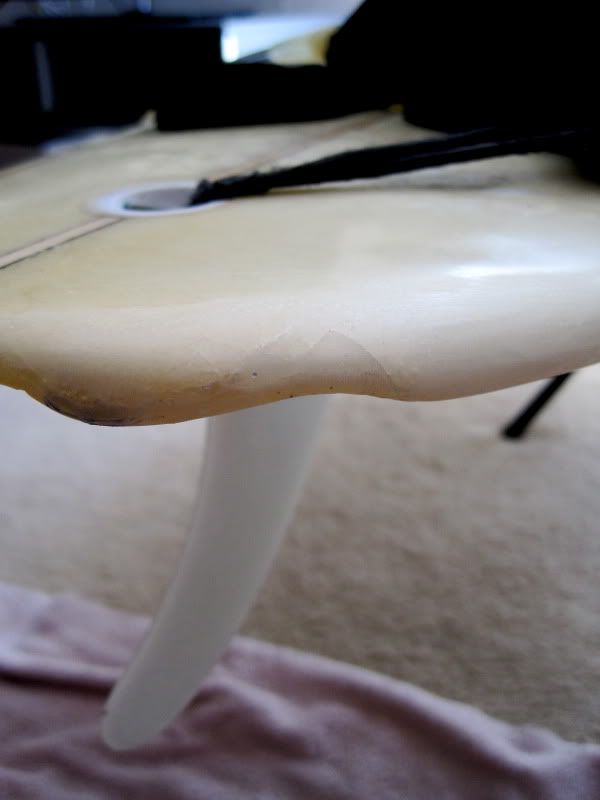
This is the first ding on the right side of my board’s tail. You can see there was resin already applied before. “Resin” is a thick liquid compound (polyester, epoxy, or urethane based) that is used in the construction of surfboards (among countless other common products).
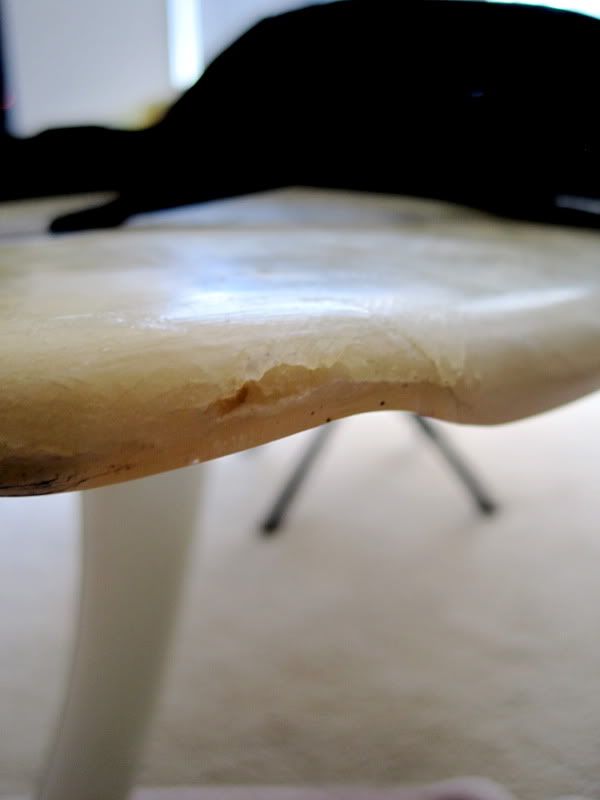
This is the ding on the left side of my board’s tail. I think this is a brand new ding.
I had the nose of my board repaired a few weeks ago, but it cost me $30. I figured that instead of dishing what looks like $60 to repair the two dings on my tail, I could just pay $10 for the resin and fix it myself and other dings in the future.
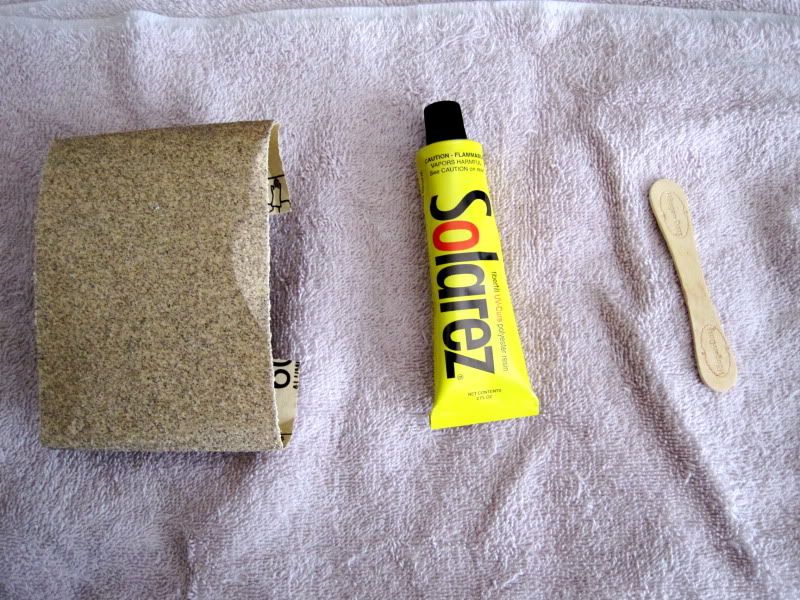
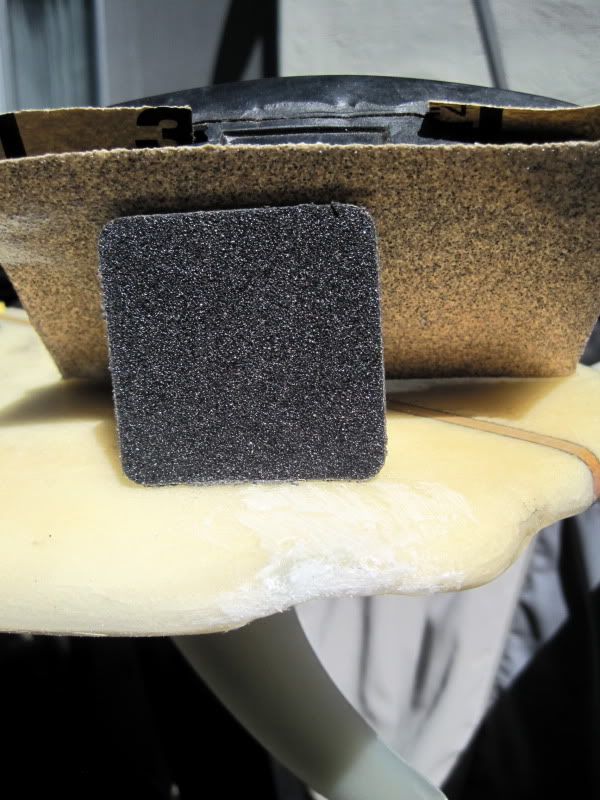
Above are my tools. I used Solarez for this repair. I was told by a Ralph at Sunlight Surf Shop in Pacifica that Solarez is stronger resin because it has a mixture of resin, fiber glass and polyster. Also in this a picture is a Haagen-Dazs ice cream stick that I will use as my brush to apply and shape the resin. And finally, sand paper to shape and smooth the resin once it drys so that it fits the contours of my board.
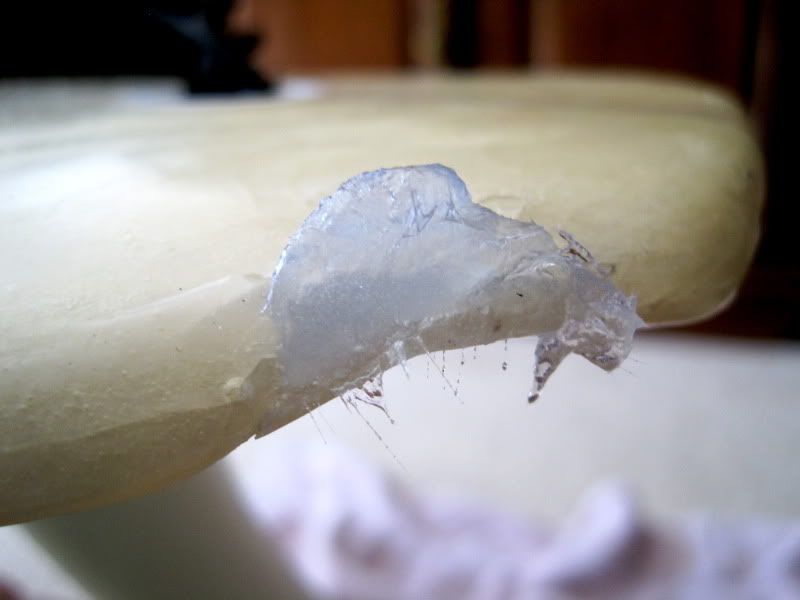
Above is the resin applied to the right tail ding. It’s just a big chunk, but I shaped it down using the ice cream stick. I did this inside my home, away from any sunlight. Once the resin see’s the sun, it hardens in 3 minutes.
After applying the resin to both dings, I took my board outside to dry. I then used sand paper to smooth the resin out to fit the curves of my board.
Below is the finished product, before and after pictures, first the right side of the tail.
Before:
After:

The left side of the tail.
Before:
After:
My brother, who also surfs, was so stoked by my repair that he asked me to repair the nose to his old school Rick Noe board.
Before:
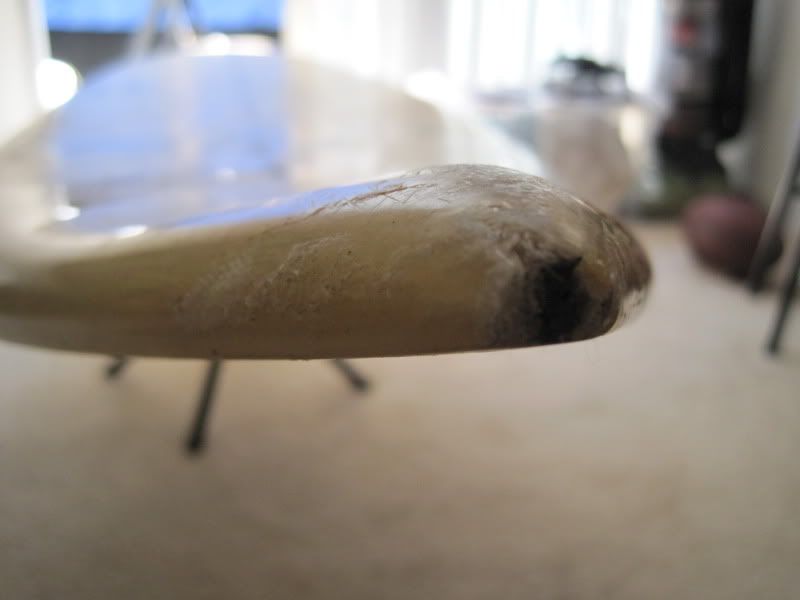
After:

I enjoyed repairing these two boards. There is some sort of artisanship that goes into repairing dings. I loved sanding the resin down and smoothing down the resin to match the lines of the board. I fell in love with the dust that came off the resin as I sanded. My friend, let’s call him “The Duck” has a minor ding on the nose of his board. I hella want to repair it, but he wants to learn also. This was such a cool experience and I feel so much closer to my board. It’s like my board gave itself to me a little more today and I as well.
For more information on how I learned to repair my board, check out this video and do-it-yourself! http://www.youtube.com/watch?v=bZlHsJGilp8&feature=related
No comments:
Post a Comment